What Tools Do I Need to Replace a Toilet Fill Valve?
If you’re experiencing a malfunctioning toilet fill valve, replacing it can be a cost-effective DIY project that can save you from expensive plumber fees. However, before starting the process, it’s essential to have the right tools on hand to ensure a successful replacement. In this article, we’ll discuss the necessary tools needed to replace a toilet fill valve and provide tips to help make the replacement process as smooth and hassle-free as possible. With the right tools and preparation, you can have your toilet up and running efficiently in no time.
Toilet Fill Valve Replacement Tools List:

Replacing a toilet fill valve can be a DIY project that can save you money on plumber fees. Here are the tools you’ll need to replace a toilet fill valve:
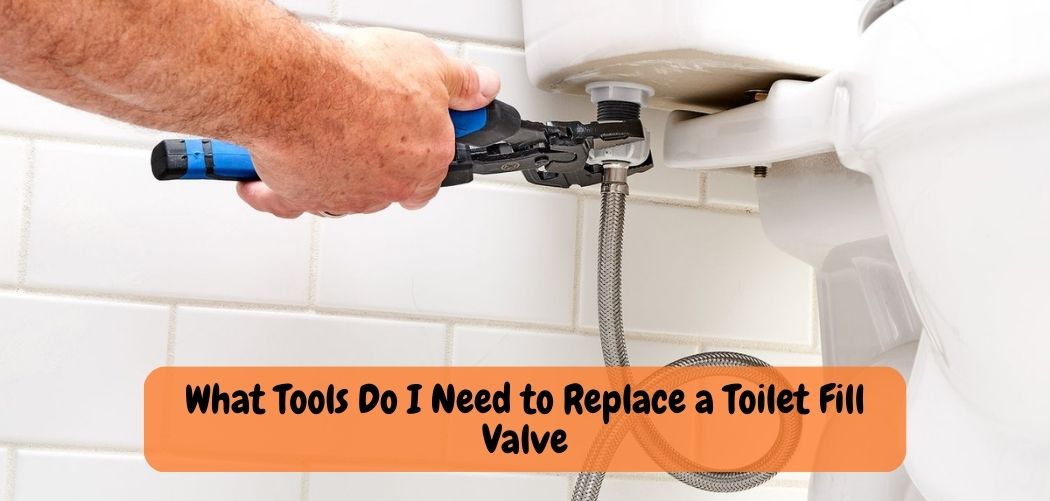
- Adjustable Wrench: An adjustable wrench is essential for loosening and tightening nuts on the supply line and toilet tank.
- Pliers: You’ll need pliers to remove the old valve from the tank and to install the new valve.
- Bucket: You’ll need a bucket to catch any water left in the tank and bowl.
- Sponge or Towel: You’ll need a sponge or towel to soak up any remaining water in the tank and bowl.
- Replacement Fill Valve: Purchase a new fill valve that is compatible with your toilet make and model.
- Teflon Tape: Teflon tape is used to seal the threads on the supply line and the toilet tank.
- Safety Gloves: It’s always a good idea to wear safety gloves when working with plumbing.
- Safety Glasses: Similarly, safety glasses can protect your eyes from any debris or splashing water.
With these tools and safety precautions, you can successfully replace your toilet fill valve and restore your toilet’s proper functioning. However, if you feel unsure or uncomfortable with the process, it’s always better to consult a professional plumber to avoid any mishaps.
Toilet Fill Valve Problems
If you’ve ever had a toilet that wouldn’t stop running, or one that just wouldn’t fill up with water after being flushed, then you know how frustrating it can be. Chances are, your toilet’s fill valve is the culprit. Fill valves are responsible for bringing fresh water into the toilet bowl after it has been flushed.
They are also what allows you to adjust the water level in the tank so that it is just right for your needs. But sometimes, these valves can get stuck or become damaged, which can cause all sorts of problems.
Here are some common fill valve problems and what you can do about them:
1. The most common problem is a stuck float ball. This can happen if the ball becomes dirty or debris gets caught in it. To fix this, simply remove the ball and clean it off with soapy water. Be sure to check for any cracks or damage before putting it back in place.
2. Another issue that can occur is a leaking fill valve gasket. This happens when the rubber seal around the valve deteriorates and starts to leak water whenever the valve is open. To replace a leaking gasket, simply remove the old one and put a new one in its place. Make sure to tighten it properly so that there isn’t any chance of leakage.
3. If your toilet constantly runs even when not in use, then chances are good that your flush valve needs to be adjusted or replaced entirely .
4.To do this, you’ll need to access the inside of your tank – something best done by a professional plumber . Once they have access, they’ll be able to make any necessary adjustments or repairs .
How to Replace Toilet Fill Valve And Flapper?
If your toilet is constantly running or leaking, it might be time to replace the fill valve and flapper. This is a relatively easy repair that anyone can do, as long as you have some basic plumbing knowledge. Here’s how to do it:
1. Turn off the water supply to your toilet by shutting off the valve behind it. Flush the toilet to empty the tank, then sponge out any remaining water.
2. Remove the tank lid and flush lever (if present). Unscrew the nut that holds the fill valve in place, using a wrench or pliers, and pull out the old valve.
3. Inspect the rubber gasket at the bottom of the tank for wear or damage, and replace it if necessary. Clean any debris from around the hole where the fill valve will sit.
4. Insert the new fill valve into place and screw on the retaining nut tightly by hand; don’t overtighten it or you could crack the porcelain tank. Attach any washers or other parts that came with the new valve, following manufacturer’s instructions.
Toilet Fill Valve Replacement Kit
Over time, the fill valve in your toilet tank can become corroded or damaged, causing it to leak water and waste money. Luckily, you can replace the fill valve yourself with a new one from your local hardware store. This blog post will show you how to do just that!
First, turn off the water to your toilet by shutting off the valve behind it. Then, flush the toilet to empty out the tank. Next, remove the old fill valve by unscrewing it from the tank and disconnecting any hoses attached to it.
Now it’s time to install your new fill valve! Start by screwing it into place in the tank and then attaching any hoses. Once everything is securely in place, turn on the water supply and check for leaks.
If there are none, give yourself a pat on the back – you’ve just replaced your toilet’s fill valve like a pro!
Replacing Toilet Fill Valve
If your toilet is having issues filling up or you notice that water is constantly running, it may be time to replace the fill valve. The fill valve is what controls the flow of water into the tank and is an essential part of your toilet. In this blog post, we’ll show you how to replace a toilet fill valve in eight easy steps.
1. Turn off the water: Before you do anything, make sure to turn off the water supply to your toilet. This will prevent any accidents from happening while you’re working on the plumbing.
2. Flush the toilet: This will help empty out the tank so that you can easily access the fill valve.
3. Remove old fill valve: Take out the old fill valve by unscrewing it from the tank using a wrench or pliers.Once it’s loose, lift it out and set it aside.
4. Clean around opening: Use a rag or paper towel to clean around where the old fill valve was so that there’s no dirt or debris in the way of the new one going in.
Can You Replace a Fill Valve Yourself?
Yes, you can replace a fill valve yourself, as long as you have the right tools and follow proper safety precautions. Replacing a fill valve is a relatively simple process that involves turning off the water supply, removing the old valve, installing the new valve, and turning the water supply back on.
However, if you have no prior plumbing experience or feel uncomfortable working with plumbing fixtures, it’s always best to consult a professional plumber. A licensed plumber can ensure that the installation is done correctly, preventing any potential leaks or damage that could arise from improper installation.
Additionally, if your toilet is still under warranty, attempting to replace the fill valve yourself could void the warranty. So, before proceeding with the replacement, it’s always wise to check the warranty terms and conditions of your toilet.
What Type of Wrench Should Be Used to Disassemble a Flush Valve?
If you need to disassemble a flush valve, you will need to use a wrench. The type of wrench you will need depends on the size and type of flush valve you have. If you have a small flush valve, you can use a small wrench. If you have a large flush valve, you will need to use a large wrench.
Fix a Running Toilet…Fill Valve Replacement — by Home Repair Tutor
Conclusion
In conclusion, replacing a toilet fill valve can be a simple and cost-effective DIY project as long as you have the right tools and follow proper safety precautions. With the right tools, including an adjustable wrench, pliers, bucket, sponge or towel, replacement fill valve, Teflon tape, safety gloves, and safety glasses, you can successfully replace a fill valve and restore your toilet’s proper functioning.
However, if you feel unsure or uncomfortable with the process, it’s always best to consult a professional plumber to avoid any potential damage or mishaps. With proper installation and maintenance, your toilet’s fill valve can function correctly for many years to come.