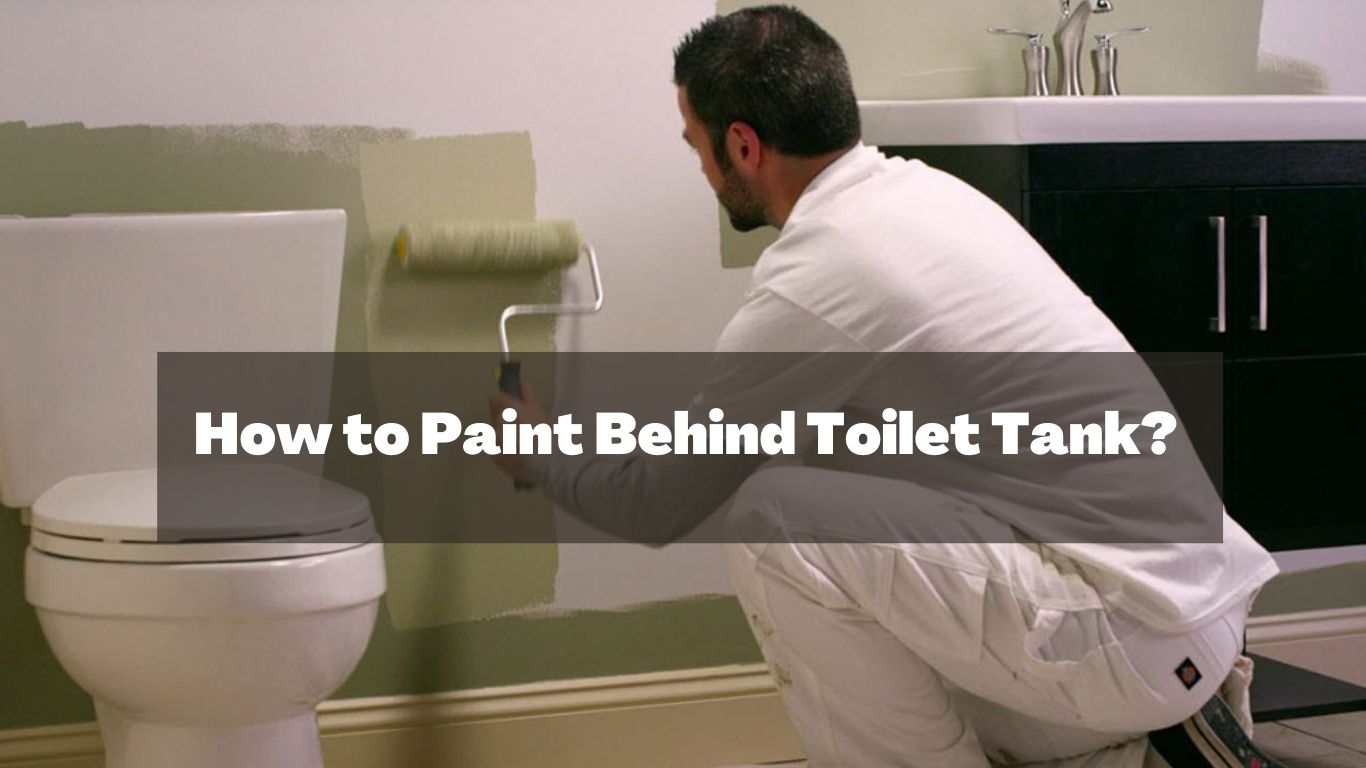
Bathrooms are one of the most frequently visited areas of anyone’s residence. Repainting the bathroom can be the easiest and most affordable way to refresh and update its look. However, while painting the bathroom walls, the surface behind a toilet tank is the hardest place to reach with a paint roller.
If you are curious about how to paint behind the toilet tank – stick to the end of our article to find out the techniques!
Today we are providing you with a step-by-step guide on painting the surface behind a toilet tank. We will also cover everything you need to know regarding the process. So without further ado, let’s get on with it!
Easiest Methods to Pain Behind the Toilet tank
After trying several methods for painting behind a toilet tank, we have picked a few that are the easiest, fastest, and most affordable.
1. Jimmy Sponge Method

This is the quickest and simplest method for painting behind a toilet bowl.
Materials you will need for this method:
- Jimmy sponge stix
- Drop cloth
- Garbage bag
- Painter’s tape
- Bathroom cleaner
- Paint primer
- Mini paint roller
- Paint
Step 1: Cover the toilet unit
First, detach the toilet lid and put it aside. Then cover the toilet tank and bowl with a trash bag. Then cover the bathroom floor with drop cloths. Next, use painter’s tape on drop cloths.
Step 2: Clean the surface
Now, dampen the applicator side/spongy side of the Jimmy stix with water mixed with bathroom detergent/cleaner. Then, slide it tightly against the bathroom wall behind the tank. Move the stix up and down. This way, you can remove dust and residue from the surface and make it ready for a fresh coat of paint.
Wait till the wall dries off completely.
Step 3: Apply paint primer
After that, clean the sponge stix and let it dry off too. Then dip a mini paint roller into the primer and run it over the spongy side of the Jimmy sponge stix. Then firmly press the Jimmy stix flat on the wall behind the tank and move it up and down. Make sure the whole paint-concentrated surface of the stick reaches the wall.
Apply two coats of primer following this step. Apply the second coat only after letting the first one dry properly.
Step 4: Apply paint
Clean the Jimmy stix, let it dry completely, and then follow the abovementioned steps to apply paint to it. Now, repeat the process mentioned in the previous step and apply two coats of paint to the wall. Before applying the second coat, make sure to leave the wall for some time.
2. Mini Roller Method
This is another easy and doable method for painting behind the surface of a toilet tank.
Materials you will need for this method:
- Foam roller cover (thin, high-density)
- Roller frame (16”)
- Roller pad (4”)
- Paint tray
- Drop cloth
- Garbage bag
- Painter’s tape
- Cutting brush (2”)
- Paint primer
- Paint
Step 1: Cover the toilet unit
Firstly, detach the toilet lid and put it aside carefully. Then, cover the toilet tank and bowl with a trash bag. Then cover the bathroom floor with drop cloths. Use painter’s tape on drop cloths to ensure they stay in place.
Step 2: Clean the surface
With rollers, it can be difficult for you to reach the corners and edges around the tank and pipes. In this case, use a 2” cutting brush to brush off the dust and residue from the wall’s surface behind and around the toilet tank.
Step 3: Apply paint primer
After that, dip a mini paint roller into the paint primer and slide it between the tank and the wall. Run it over the wall in a linear direction. After applying the first coat, wait till the wall dries off, then apply the second coat.
Step 4: Apply paint
Pour 1 cup of paint into a paint tray and dip the foam roller (16” mini roller frame and a 4” roller pad) into the tray. In this case, you do not need to buy a special tray. You can use a regular paint tray.
Then roll it over the wall behind the water tank and toilet bowl.
Apply two coats of paint with the roller. Make sure the first coat dries off before you apply the second one.
In this method, there will be an unpainted section right behind the tank. However, do not worry. It is the part of the wall that no one’s eyes will reach.
3. Rag and Stick Method/DIY Method
If the Jimmy sponge and mini roller methods didn’t work for you, don’t worry! We have a backup option for you. Even though this method may take more time and effort, it will give you a satisfactory result.
Materials you will need for this method:
- Utility Knife
- Hot glue gun
- Painting stick/wood stick
- Rag
- Drop cloth
- Garbage bag
- Painter’s tape
- Cutting brush (2”)
- Paint primer
- Paintbrush
- Paint
Step 1: Cover the toilet unit
Firstly, detach the toilet lid and put it aside carefully. Then, cover the toilet tank and bowl with a trash bag. Then cover the bathroom floor with drop cloths. Use painter’s tape on drop cloths to ensure they stay in place.
Step 2: Clean the surface
With rollers, it can be difficult for you to reach the corners and edges around the tank and pipes. In this case, use a 2” cutting brush to brush off the dust and residue from the wall’s surface behind and around the toilet tank.
Step 3: DIY paint stirring stick
Use a utility knife to make a 1-inch mark on the paint stirring stick. Detach the piece and similarly make a second piece. Use a hot glue gun to join the pieces side by side. Then, form a handle for the paint pad.
Make sure to spare three inches from the end before putting glue. Now, use glue to wrap a sponge with a rag. Make a ball-shaped pad, and then stick it to the end of the handle.
Step 4: Apply paint primer
After that, use a paintbrush to transfer primer to the pad (sponge covered with the rag) from a primer can. Then slide the stick between the tank and the bathroom wall. Move it back and forth.
Repeat the process to apply two coats of primer. Let the first coat dry before applying the second one.
Step 5: Apply paint
Now, dip the pad in paint, and apply paint to the wall following the process described above. Do not overload the pad with paint to avoid dripping.
Apply two coats of paint with the stirring stick. Make sure the first coat dries off before you apply the second one.
Apply paint with patience and repeat the process until the wall is thoroughly painted. Achieving perfect texture is a bit difficult with this method.
Conclusion
If you are not keen on detaching the entire toilet unit, I hope our guide on how to paint behind the toilet tank has provided you with some easy and affordable solutions.
That’s all for today, buddy! Adios!
Related Post:
How To Remove Toto Toilet Seat
What Causes Yellow Stains on Toilet Seat