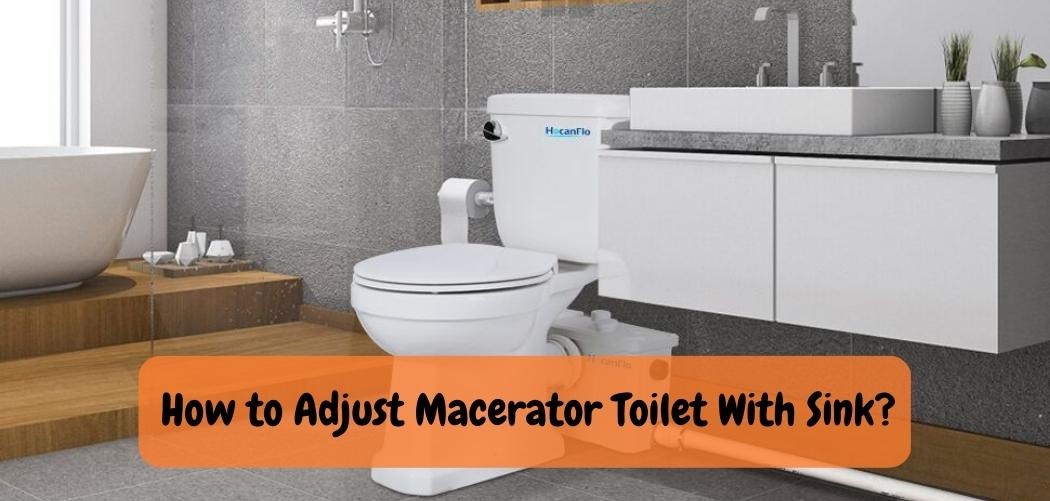
Macerator toilets with built-in sinks are becoming increasingly popular due to their space-saving design and convenient functionality. These innovative toilets allow for the combination of a toilet and sink in one unit, making them ideal for small bathrooms or areas where traditional plumbing may not be feasible.
However, like any other plumbing fixture, macerator toilets with sinks may require adjustment or maintenance over time to ensure optimal performance. In this article, we will explore how to adjust a macerator toilet with a sink, including tips and steps to troubleshoot common issues, and ensure that your macerator toilet and sink combo function smoothly and efficiently.
Whether you’re a DIY enthusiast or a homeowner looking to understand the basics of macerator toilet maintenance, this guide will provide you with the information you need to adjust your macerator toilet with a sink effectively.
Can You Drain a Sink into a Macerating Toilet?

Assuming you are referring to a macerating toilet system, the answer is technically yes, but it is not recommended. Macerating toilet systems are designed to handle human waste and toilet paper. Draining a sink into the system could clog it or damage the pump.
Macerator Toilet Adjust Guide With Sink
In this informative guide, we will explore the steps and tips for adjusting a macerator toilet with a sink, including troubleshooting common issues and ensuring smooth operation.
Step 1: Gather Tools and Materials
Before you start adjusting your macerator toilet with a sink, gather the necessary tools and materials. This may include a screwdriver, wrench, pliers, pipe cutter or pipe wrench, Teflon tape, and a replacement macerator blade or cartridge, if needed. It’s important to have the right tools on hand to ensure a smooth adjustment process.
Step 2: Turn Off Water and Electricity
As with any plumbing work, safety should be a top priority. Before making any adjustments, be sure to turn off the water supply to the macerator toilet and sink. Also, disconnect the electricity to the macerator pump to prevent any accidents or damage.
Step 3: Troubleshoot Common Issues
If your macerator toilet with a sink is not functioning properly, it’s essential to troubleshoot the issue before making adjustments. Some common issues may include clogs, leaks, or a malfunctioning macerator pump.
To determine the cause of the problem, visually inspect the toilet, sink, and macerator pump for any signs of damage, blockages, or leaks. If necessary, consult the manufacturer’s instructions or seek professional help to diagnose and resolve the issue.
Step 4: Adjust the Macerator Toilet and Sink
Once you have identified the issue, you may need to make adjustments to your macerator toilet and sink. Here are some common adjustments you may need to make:
1. Clearing Clogs:
If you encounter a clog in the macerator pump or pipes, use a plunger or a drain snake to clear the obstruction. Be sure to follow proper techniques and avoid using harsh chemicals that may damage the macerator pump or sink.
2. Adjusting the Macerator Blade or Cartridge:
The macerator blade or cartridge is responsible for grinding waste and pumping it out. If the blade or cartridge is damaged or misaligned, it may need adjustment or replacement. Follow the manufacturer’s instructions to remove and adjust the macerator blade or cartridge as needed.
3. Checking for Leaks:
Leaks can occur in the connections between the macerator toilet, sink, and plumbing pipes. Inspect all connections for signs of leaks, such as water pooling or dampness. If you notice any leaks, use a wrench or pliers to tighten the connections or replace faulty gaskets or seals.
4. Replacing Parts:
If any components of the macerator toilet or sink are damaged or worn out, they may need to be replaced. This may include the macerator blade, cartridge, seals, gaskets, or hoses. Follow the manufacturer’s instructions and use compatible replacement parts to ensure proper fit and function.
Step 5: Test and Reassemble
After making adjustments or replacing parts, reassemble the macerator toilet and sink as per the manufacturer’s instructions. Once everything is back in place, turn on the water supply and electricity to the macerator pump.
Flush the toilet and run water in the sink to test for proper operation. Check for leaks and make sure that the macerator pump is grinding waste and pumping it out effectively.
Step 6: Maintenance and Regular
Inspections To keep your macerator toilet with a sink running smoothly, it’s essential to perform regular maintenance and inspections. This may include cleaning the macerator blade or cartridge periodically to remove any buildup, checking for leaks or signs of damage, and tightening connections as needed.
Additionally, avoid flushing anything other than toilet paper and human waste down the toilet to prevent clogs and damage to the macerator pump.
Macerating Toilets: What you need to know
Conclusion
How to adjust a macerator toilet with a sink is a valuable skill for homeowners or DIY enthusiasts who want to maintain their macerator toilet and sink combo for optimal performance.
By following the tips and steps outlined in this article, you can troubleshoot common issues, make necessary adjustments, and ensure that your macerator toilet with a sink continues to function smoothly and efficiently.
Remember to always consult the manufacturer’s instructions and seek professional help if you encounter complex issues or are not comfortable with plumbing work. Proper maintenance and adjustment of your macerator toilet with a sink can help prolong its lifespan and keep your bathroom running smoothly.
With the right knowledge and tools, you can confidently adjust your macerator toilet with a sink and enjoy the convenience and functionality it provides.

