How to Repair Kohler Toilet Flush Valve: Hidden Tips & Tricks!
A malfunctioning toilet flush valve can be a frustrating and unpleasant experience. Fortunately, repairing a Kohler toilet flush valve is a relatively simple process that can be done with a few basic tools and some DIY knowledge.
In this guide, we will walk you through the step-by-step process of repairing a Kohler toilet flush valve, including turning off the water supply, draining the tank, removing the old flush valve, installing a new flush valve, reassembling the toilet tank, and turning the water supply back on.
By following these simple steps, you can save money on plumber fees and have your Kohler toilet functioning properly again in no time.
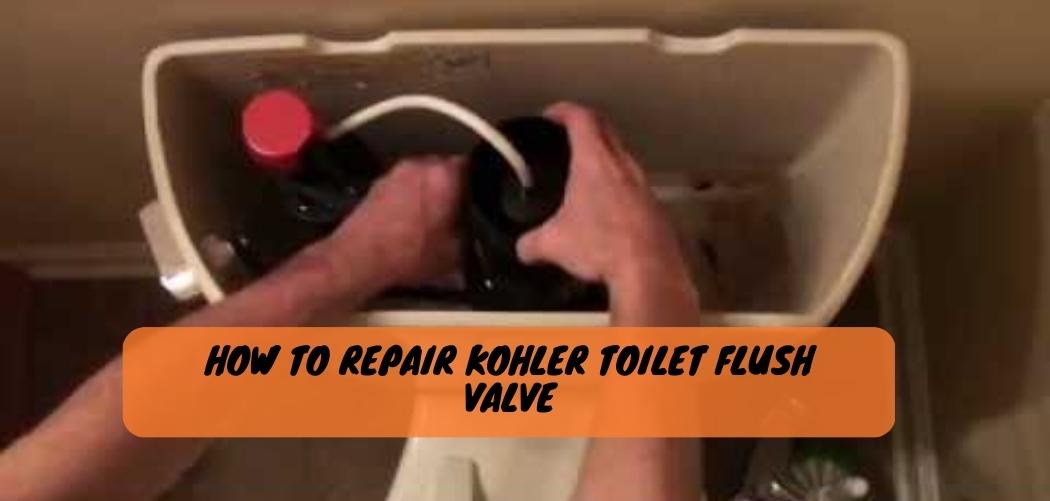
Kohler Toilet Flush Valve Repair Guide
Kohler is a well-known brand in the plumbing industry, and their toilets are popular for their durability and efficiency. However, like any toilet, Kohler toilets can experience problems with their flush valve over time. The flush valve is responsible for controlling the release of water from the toilet tank to the bowl during a flush. If you’re experiencing issues with your Kohler toilet flush valve, don’t worry, this guide will walk you through the steps to repair it.
Tools and Materials Needed:
- Adjustable wrench
- Screwdriver
- Plumber’s putty
- Kohler flush valve kit (replacement parts)
Step 1: Turn off the water supply to the toilet
The first step to repairing the Kohler toilet flush valve is to turn off the water supply. Locate the valve behind the toilet, usually near the floor or on the wall. Turn it clockwise to shut off the water flow.
Step 2: Drain the toilet tank
Flush the toilet to drain the water from the tank. If the toilet doesn’t flush properly, you can manually remove the water from the tank using a bucket or towel. Make sure to remove as much water as possible.
Step 3: Remove the toilet tank
Use an adjustable wrench to loosen the bolts that hold the toilet tank to the bowl. There are usually two bolts, one on either side of the tank. Once the bolts are loosened, lift the tank off the bowl and place it on a flat surface.
Step 4: Remove the old flush valve
The flush valve is located in the center of the bottom of the tank. Disconnect the refill tube that runs from the fill valve to the flush valve. Then, use a screwdriver to remove the mounting nut that holds the flush valve in place. Lift the old flush valve out of the tank.
Step 5: Install the new flush valve
Apply a small amount of plumber’s putty to the base of the new flush valve. Insert the new valve into the hole in the bottom of the tank and secure it with the mounting nut. Reconnect the refill tube to the overflow pipe on the flush valve.
Step 6: Reassemble the toilet tank
Carefully lower the toilet tank back onto the bowl, aligning the bolt holes. Tighten the bolts with an adjustable wrench, alternating between each bolt until they are snug but not over-tightened. Reconnect the water supply line to the fill valve.
Step 7: Turn on the water supply
Turn the water supply valve counterclockwise to restore the water flow to the toilet. Check for leaks around the tank and connections. If there are no leaks, flush the toilet several times to ensure the new flush valve is working properly.
How to Install Kohler Flush Valve Kit?

If your toilet isn’t flushing properly, it may be time to replace the flush valve. The Kohler Flush Valve Kit is an easy-to-install replacement that will have your toilet flushing like new in no time. Here’s what you’ll need to do:
1. Turn off the water supply to your toilet. This is usually done by turning the knob on the wall behind the toilet clockwise until it stops.
2. Flush the toilet to empty out the tank and bowl.
3. Disconnect the supply line from the bottom of the tank using a wrench. Be sure to place a towel under the tank before doing this, as water may spill out when you disconnect the line.
4. Remove the old flush valve by unscrewing it from inside the tank with a wrench or pliers. Pull out any rubber washers or gaskets that are attached to it and discard them; they won’t be needed for your new flush valve kit.
5. Install the new flush valve into place, screwing it in tight with a wrench or pliers (again, placing a towel under the tank first). Make sure that any rubber seals or washers are in good condition before attaching them to the new valve – if they’re damaged, they could cause leaks later on down the road!
How to Replace Kohler Flush Valve Seal?
If your Kohler flush valve seal is leaking, you can replace it yourself with just a few tools and a little bit of know-how. Here’s what you’ll need to do the job:
– A new Kohler flush valve seal (available at most hardware stores)
– A screwdriver
– A hammer
– A putty knife or other flat tool
First, shut off the water to your toilet. Then, remove the lid from the tank and set it aside. Next, use a screwdriver to loosen the screws that hold the flush valve in place.
Carefully lift out the flush valve and set it aside. Take a look at the rubber gasket that seals between the tank and the bowl – this is your flush valve seal. If it’s damaged or worn out, it will need to be replaced.
To remove the old seal, start by prying up one edge with a putty knife or other flat tool. You may need to use a hammer to help get it started. Once you’ve pried up one edge, you should be able to peel off the entire seal.
Clean up any debris or residue from around the opening before installing the new seal. To install, simply press the new seal into place making sure it’s seated properly all around.
How Do You Fix a Toilet Fill Valve That Keeps Running?
If your toilet fill valve keeps running, there are a few things you can do to fix it. First, make sure that the water supply to the toilet is turned off. Next, remove the lid from the tank and flush the toilet to empty the water out of the tank.
Then, use a plunger to try and dislodge any debris that may be causing the problem. If that doesn’t work, you may need to replace the fill valve.
How to Fix Toilet Fill Valve and Flush Valve / Kohler
Conclusion
In conclusion, How to Repair Kohler Toilet Flush Valve is a straightforward process that can be completed with basic tools and a little bit of know-how. By following these steps, you can save money and avoid the hassle of calling a plumber.
If you’re uncomfortable working on your toilet, or if the problem persists after attempting repairs, it’s always best to consult a professional plumber for assistance.