Unleash The Secrets: Remove Toilet Seat Fitting Like A Pro
To remove a toilet seat fitting, locate the two plastic bolts holding the seat and cover. Gently unscrew these bolts, lift the seat away from the toilet, and discard.
Removing a toilet seat fitting may seem like a daunting task, but with the right tools and techniques, it can be a relatively straightforward process. Whether you’re looking to replace a damaged toilet seat or performing routine maintenance, understanding how to remove a toilet seat fitting is essential.
In this guide, we will explore the step-by-step instructions to safely and effectively remove a toilet seat fitting. From gathering the necessary tools to executing the removal process, you’ll gain the knowledge and confidence to complete this task efficiently. So, let’s dive in and learn how to remove a toilet seat fitting like a pro.
Understanding Toilet Seat Fittings
Removing a toilet seat fitting is a relatively simple process. Understanding toilet seat fittings is important to ensure a proper fit that is secure and comfortable for users. Types of fittings include top fixing, bottom fixing, and quick release. Common issues with improper fittings include wobbling and unevenness.
Always make sure to use the correct size of fittings and tighten them securely. A loose fitting can cause damage to the toilet and pose a safety risk for users. Remember to take your time, use the right tools, and follow the manufacturer’s instructions for best results.
Easy Guide: How Do You Remove A Toilet Seat Fitting?
Removing a toilet seat fitting can be a relatively simple process if you have the right tools and follow the correct steps. Whether you’re replacing a worn-out seat or performing maintenance tasks, here is a step-by-step guide on how to remove a toilet seat fitting effectively and safely:
Step 1: Gather the necessary tools
Before you begin, make sure you have the following tools on hand:
- Adjustable wrench
- Screwdriver (flathead or Phillips, depending on the type of screws/bolts used)
- Pliers
- Lubricant (such as WD-40 or penetrating oil)
- Gloves
- Safety glasses
Step 2: Assess the type of toilet seat fitting
Toilet seat fittings can vary depending on the model and design of your toilet. There are typically two types:
- Bolted fittings: These feature bolts that pass through the toilet bowl and are secured with nuts underneath.
- Hinged fittings: These have hinges at the back of the toilet seat, which attach directly to the toilet bowl.
Understanding the type of fitting will help you proceed with the appropriate removal method.
Step 3: Prepare the area
Ensure the area around the toilet is clear and unobstructed. This will provide you with enough space to work comfortably. It’s also a good idea to place a towel or rag on the floor to catch any water or debris that may fall during the removal process.
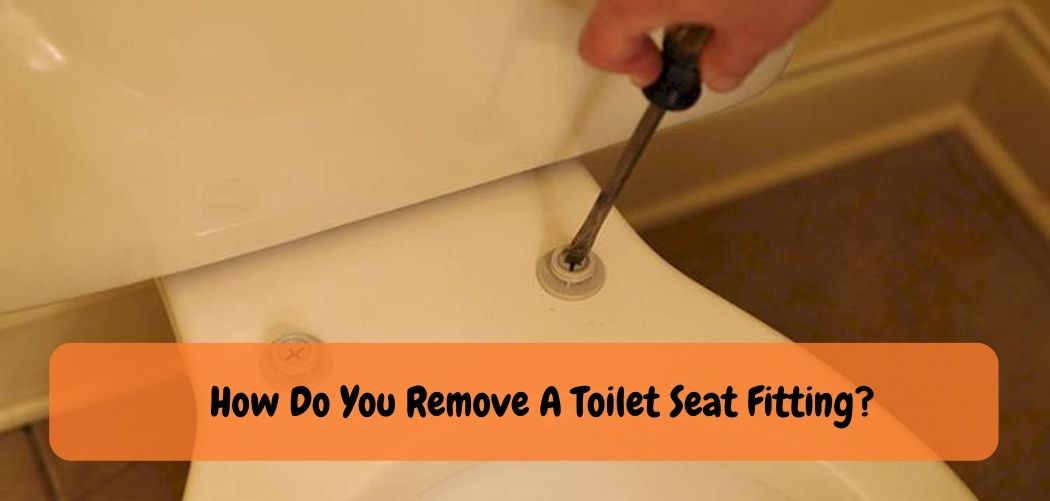
Step 4: Loosen the nuts/bolts For bolted fittings:
- Locate the nuts underneath the toilet bowl that secure the bolts.
- Use an adjustable wrench to loosen the nuts by turning them counterclockwise. Apply lubricant if the nuts are tight or corroded.
- Hold the bolt heads in place with a screwdriver or pliers to prevent them from spinning while you loosen the nuts.
For hinged fittings:
- Examine the hinges at the back of the toilet seat.
- Look for any securing mechanisms such as screws or pins.
- Use a screwdriver to remove the screws or release the pins, depending on the specific design.
- Some hinged fittings may have a release button or latch that needs to be pressed or lifted to disengage the seat from the hinges.
Step 5: Remove the toilet seat fitting
Once the nuts/bolts or hinges are loosened or released, you can proceed to remove the toilet seat fitting:
- For bolted fittings, lift the toilet seat straight up off the bowl, sliding the bolts out of the holes.
- For hinged fittings, gently lift the seat and separate it from the hinges.
Step 6: Clean and prepare for installation With the old toilet seat fitting removed, take the opportunity to clean the toilet bowl and the surrounding area thoroughly. Use mild cleaners or disinfectants as needed. Allow the surface to dry completely before installing a new seat.
Note: If you are replacing the toilet seat, follow the manufacturer's instructions to install the new seat securely. Ensure that the new seat is compatible with your toilet model and fits properly.
Frequently Asked Questions On How Do You Remove A Toilet Seat Fitting?
How Do You Remove A Toilet Seat Fitting Without The Screws?
To remove a toilet seat fitting, locate the hinges or pins and use a flathead screwdriver to push them outwards to release the seat.
Can You Use Pliers To Remove A Toilet Seat Fitting?
Yes, you can use long nosed pliers to grip the hinge bolt underneath the toilet to loosen and unscrew it.
What Is The Best Tool To Use To Remove A Stubborn Toilet Seat Fitting?
A hacksaw or reciprocating saw blade can cut through any rusted bolts or plastic screws that hold the toilet seat fitting in place.
What Do You Do If The Bolts Of The Toilet Seat Are Rusted?
Spray oil, such as wd-40, on the rusted bolts and let it sit for a few minutes. Then use a wrench, or hacksaw, to loosen the bolts or screws.
Can You Replace A Toilet Seat Fitting With A Different Shape Or Size Of Seat?
Yes, ensure that the hinges and bolt pattern match before installing a replacement seat. Take the measurements of the old seat and compare them if needed.
Conclusion
Before concluding this article, it is vital to emphasize the importance of safety while removing a toilet seat fitting. Always turn off the water supply and wear gloves to prevent any accidents. We hope that this step-by-step guide has made it easier for you to remove your toilet seat fitting.
Remember, regular cleaning and replacing of the toilet seat help maintain a hygienic and odor-free space. Lastly, we recommend seeking professional help if you encounter any difficulties while removing the fitting. A well-maintained toilet ensures comfort and cleanliness in your bathroom.
So, do not delay and start working on maintaining your toilet for a pleasant experience. Thank you for taking the time to read this article, and we hope it was informative and helpful.
