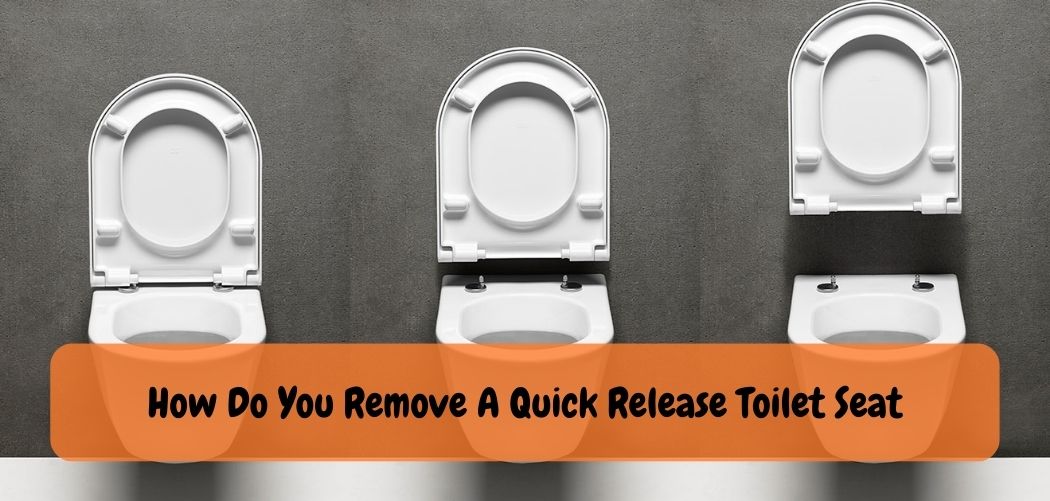
To remove a quick release toilet seat, locate the release buttons or screws at the back of the seat and hold them while sliding the seat forward or lifting it up. A quick release toilet seat is a convenient feature that allows for easy cleaning or replacement of the seat.
The toilet seat, a seemingly mundane fixture in our daily lives, serves an essential purpose in maintaining cleanliness and comfort within our bathrooms. However, when it comes time to replace or clean this often-overlooked component, many people find themselves stumped by the quick release mechanism that holds it in place.
If you’ve ever struggled to remove a quick release toilet seat, fear not! In this guide, we will delve into the intricacies of this seemingly enigmatic mechanism and provide you with step-by-step instructions to help you navigate the process with ease.
Master The Art Of Removing A Quick-Release Toilet Seat Effortlessly
Proper toilet seat maintenance is crucial, but sometimes you may need to remove it to clean or replace it. Before you begin, consider factors like the type of toilet seat and any obstructions nearby. You’ll need tools like a pair of pliers and a screwdriver to safely remove your quick-release toilet seat.
To avoid injury, take necessary safety precautions like wearing gloves and ensuring the bolts are cool. Follow our step-by-step guide to detach, unscrew the locking nuts, and remove your toilet seat. Once removed, don’t forget to clean and reinstall the seat.
With our expert tips and precautions, removing your quick-release toilet seat will be effortless and stress-free.
Removing a quick release toilet seat may seem like a daunting task if you’re unfamiliar with the process. However, with a little guidance and the right tools, you can easily accomplish this maintenance task. So, let’s dive in and learn how to remove a quick release toilet seat like a pro.
Tools and Materials Needed:
Before we begin, gather the following tools and materials to ensure a smooth removal process:
- Adjustable wrench or pliers
- Screwdriver (flathead or Phillips, depending on the seat)
- Cleaning supplies (optional)
- Gloves (optional, for hygiene and protection)
Step 1: Prepare for the Removal Process
- Ensure your bathroom is well-lit and properly ventilated.
- Put on gloves if desired, especially if you plan to clean the seat afterwards.
Step 2: Identify the Quick Release Mechanism
- Examine the toilet seat to locate the quick release mechanism. It is usually positioned at the rear of the seat, near the hinges.
- Quick release mechanisms typically consist of two buttons or levers on either side of the seat.
Step 3: Unlock the Quick Release Mechanism
- Firmly press or pull the buttons or levers on both sides simultaneously. This action will disengage the quick release mechanism.
- Some quick release mechanisms may require twisting or rotating the buttons or levers instead of pressing or pulling.
Step 4: Remove the Toilet Seat
- Lift the seat and lid together, grasping them near the hinges.
- Slowly pull the seat and lid away from the toilet bowl, keeping them parallel to the floor.
- If you encounter any resistance, double-check that the quick release mechanism is fully disengaged.
- Once the seat is completely detached, set it aside in a safe location.
Step 5: Clean and Maintain the Toilet Seat (Optional)
- Take this opportunity to thoroughly clean the removed toilet seat and lid.
- Follow the manufacturer’s instructions for cleaning or use a mild soap or disinfectant solution.
- Rinse with clean water and dry the seat and lid before reinstalling them.
Tips and Considerations:
- If the quick release buttons or levers are difficult to press or pull, use an adjustable wrench or pliers for better leverage.
- Some quick release toilet seats may have additional securing mechanisms, such as hidden screws. Refer to the manufacturer’s instructions for specific details on these types of seats.
- To reinstall the toilet seat, simply reverse the removal process, ensuring that the quick release mechanism engages properly.
Troubleshooting Common Issues During Quick-Release Toilet Seat Removal
Removing a quick-release toilet seat may seem like an easy task, but many people encounter problems while doing so. To troubleshoot the common issues you may face during the removal process, you need to identify the cause of the difficulty.
Stuck bolts or locking nuts, buildup of dirt or residue, and damaged or worn-out components are some of the common causes. To solve these issues, lubricating the bolts and nuts, using alternate tools, or repairing or replacing the damaged components can be useful techniques.
With these solutions in mind, the process of removing a quick-release toilet seat should be a breeze.
Frequently Asked Questions For How Do You Remove A Quick Release Toilet Seat?
How Do You Remove A Quick Release Toilet Seat?
To remove a quick release toilet seat, locate and press the release buttons on the sides of the seat, then lift the seat off the hinges.
How Often Should You Clean Your Toilet Seat?
Clean your toilet seat every 1-2 weeks using a mild cleaning solution and a soft cloth.
Can You Reuse The Quick Release Toilet Seat Once Removed?
Yes, you can reuse a quick release toilet seat once removed by simply placing it back onto the hinges and pressing down until you hear a click.
What If The Quick Release Buttons On My Toilet Seat Aren’T Working?
If the quick release buttons on your toilet seat aren’t working, try cleaning them with a mild soap and water solution. If they still don’t work, contact the manufacturer for assistance.
Can Any Toilet Seat Be Converted To A Quick Release Seat?
Not all toilet seats can be converted to a quick release seat. Check with the manufacturer for compatibility or purchase a new quick release seat designed for your toilet model.
Conclusion
Removing a quick release toilet seat may seem like a daunting task, but it’s actually straightforward and simple. By following the steps outlined in this post, you can quickly remove the old seat and replace it with a new one.
Remember to turn off the water supply and wear gloves for hygiene purposes. You may require specific tools such as a screwdriver or pliers depending on the type of seat you have. Always read the manufacturer’s instructions before attempting to remove or install a toilet seat.
With the right equipment and a little bit of patience, you can make the process of removing a quick release toilet seat effortless. As a result, you’ll have a cleaner, more comfortable seat that’s free from any defects or damage.