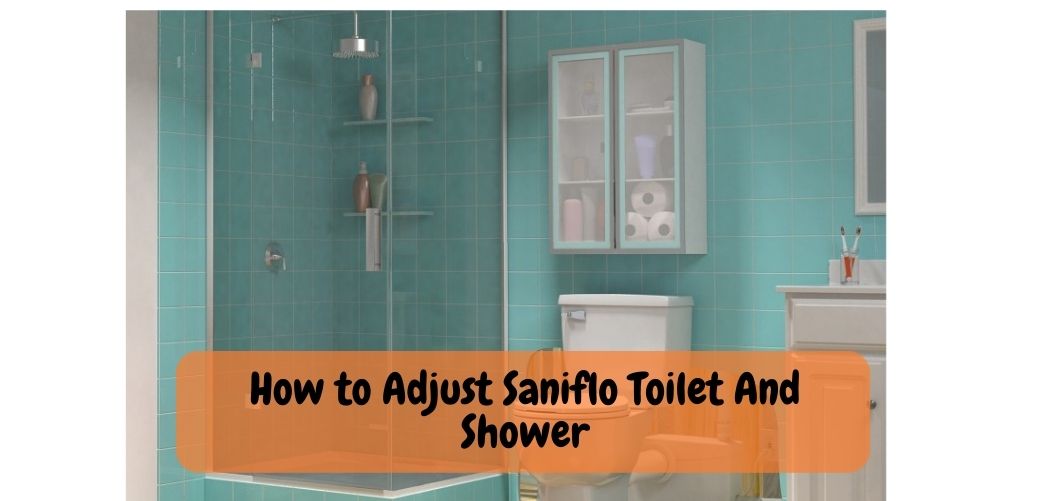
How to Adjust Saniflo Toilet And Shower?
Saniflo toilets and showers are innovative bathroom fixtures that use a macerator pump to eliminate waste and pump water from areas where traditional plumbing may not be feasible. These systems are popular in basements, garages, and other areas where plumbing access may be limited.
However, like any other mechanical system, Saniflo toilets and showers may require adjustments and maintenance over time to ensure optimal performance. In this guide, we will explore how to adjust Saniflo toilets and showers, providing step-by-step instructions and tips to help you troubleshoot common issues and keep your Saniflo system running smoothly.
Whether you’re a homeowner or a DIY enthusiast, this guide will provide you with the knowledge and confidence to make adjustments to your Saniflo toilet and shower, and keep your bathroom plumbing functioning effectively.
Can You Connect a Shower to a Saniflo Toilet?

Yes, it is possible to connect a shower to a Saniflo toilet system. Saniflo is a brand of macerating toilet systems that use a pump to break down waste and pump it away from the toilet to the main plumbing system.
These systems are designed to handle not only toilet waste but also other bathroom fixtures, such as sinks, showers, and bathtubs, making them a versatile option for bathroom installations.
Saniflo Toilet And Shower Adjustment Guide
Saniflo toilets and showers may require adjustments and maintenance over time to ensure optimal performance. In this guide, we will provide step-by-step instructions on how to adjust a Saniflo toilet and shower, along with some tips for troubleshooting common issues.
Step 1: Review the Manufacturer’s Guidelines
Before making any adjustments to your Saniflo toilet and shower, it’s crucial to review the manufacturer’s guidelines and installation instructions for your specific model. Different Saniflo models may have specific requirements or limitations, and it’s essential to follow them to avoid potential damage or voiding of warranties.
Step 2: Gather the Necessary Tools and Equipment
To adjust your Saniflo toilet and shower, you will need some basic tools and equipment. Here are some common items you may need:
- Screwdriver
- Adjustable wrench
- Pipe cutter or hacksaw
- Pipe fittings
- Replacement parts (if needed)
- Plunger (for troubleshooting)
Make sure you have the necessary tools and equipment on hand before proceeding with the adjustments.
Step 3: Adjusting the Saniflo Toilet
If you need to make adjustments to your Saniflo toilet, follow these steps:
1.Turn off the power: Before working on any electrical or mechanical components of the Saniflo toilet, it’s crucial to turn off the power to the unit to prevent any accidents.
2. Access the macerator pump: The macerator pump is the main component of the Saniflo toilet that breaks down waste. To access the pump, remove the cover of the Saniflo unit following the manufacturer’s instructions.
3. Check the blades and impeller: Inspect the blades and impeller of the macerator pump for any signs of damage, debris, or clogging. If necessary, clean or replace these components following the manufacturer’s recommendations.
4. Adjust the float switch: The float switch is responsible for controlling the water level in the Saniflo toilet. If you’re experiencing issues with water level, you can adjust the float switch by following the manufacturer’s instructions.
5. Check the seals and connections: Inspect the seals and connections of the Saniflo toilet for any signs of leaks or damage. Tighten or replace any loose or damaged seals or connections as needed.
6. Reassemble and test: Once you have made the necessary adjustments, reassemble the Saniflo toilet following the manufacturer’s instructions. Turn on the power and test the toilet for proper flushing and waste elimination.
Step 4: Adjusting the Saniflo Shower
If you need to make adjustments to your Saniflo shower, follow these steps:
1.Turn off the water supply: Before working on the shower, it’s crucial to turn off the water supply to the Saniflo system to prevent any flooding or water damage.
2. Inspect the shower drain: Check the shower drain for any signs of clogging or debris that may be affecting the flow of water. Clean or remove any obstructions as needed.
3. Adjust the drain pipe: If the shower drain is not properly aligned with the Saniflo unit, you may need to adjust the drain pipe. Use a pipe cutter or hacksaw to trim or extend the drain pipe to the appropriate length, following the manufacturer’s guidelines.
4. Check the connections: Inspect the connections between the shower drain and the Saniflo unit for any signs of leaks or damage. Tighten or replace any loose or damaged connections as needed.
5. Adjust the pump speed: Some Saniflo shower systems have adjustable pump speed settings that allow you to control the flow rate of water. You can adjust the pump speed using the control panel or settings provided by the manufacturer.
6. Test the shower: Once you have made the necessary adjustments, turn on the water supply to the Saniflo system and test the shower for proper drainage and water flow. Adjust the settings as needed to achieve the desired performance.
Step 5: Troubleshooting Common Issues
If you encounter issues with your Saniflo toilet and shower even after making adjustments, here are some common troubleshooting tips:
1.Check for clogs: Clogs in the macerator pump or drain pipe can cause issues with flushing or drainage. Use a plunger or a drain cleaning solution to clear any clogs.
2. Check for leaks: Leaks in the seals or connections can result in water damage or inefficient operation. Inspect all seals and connections for signs of leaks and tighten or replace as needed.
3. Check for power issues: If the Saniflo toilet or shower is not turning on or functioning properly, check the power source, circuit breaker, or fuse. Reset or replace as needed.
4. Contact the manufacturer or a professional plumber: If you’re unable to troubleshoot or fix the issue on your own, contact the manufacturer or a professional plumber for further assistance.
How Do I Adjust the Water Level in My Saniflo Toilet?
If your Saniflo toilet isn’t flushing properly, it could be because the water level in the unit is too low. You can adjust the water level by following these steps:
1. Turn off the power to the Saniflo unit.
2. Locate the adjustment screw on the side of the unit (it will be labelled “water level”).
3. Using a flathead screwdriver, turn the adjustment screw clockwise to raise the water level, or counterclockwise to lower it.
4. Once you’ve adjusted the water level to where you want it, turn the power back on and flush your toilet to test it out.
Why is My Saniflo Toilet Not Flushing Properly?
If your Saniflo toilet isn’t flushing properly, there are a few things you can check to troubleshoot the issue. First, make sure that there is nothing blocking the impeller in the pump. If the impeller is blocked, it won’t be able to spin and create suction.
Next, check the float switch to see if it is stuck in the “on” position. If so, this will prevent water from flowing into the pump and will cause it to run dry.
Finally, check the discharge pipe to ensure that it is not blocked or kinked. If any of these issues are present, they will need to be fixed before your toilet will flush properly again.
How to Install a Saniflo Toilet
Conclusion
Adjusting a Saniflo toilet and shower can be done with some basic mechanical and plumbing skills, following the manufacturer’s guidelines, and regular maintenance. By making necessary adjustments to the macerator pump, checking for proper water flow, ensuring proper connections, adjusting the pump speed, and troubleshooting common issues, you can optimize the performance of your Saniflo system and enjoy a reliable and efficient bathroom experience.
Remember to always follow the manufacturer’s instructions and guidelines, and exercise caution when working with plumbing and electrical components. If you are not confident in your abilities, it’s best to seek professional help from a qualified plumber or Saniflo technician.
With proper adjustments and maintenance, your Saniflo toilet and shower can provide you with years of trouble-free operation. Regular inspections, cleaning, and adjustments can help prevent issues and ensure smooth operation. By taking the time to adjust and maintain your Saniflo system, you can enjoy a functional and efficient bathroom setup in your home or business.