How Do You Install Skirted Toilet?
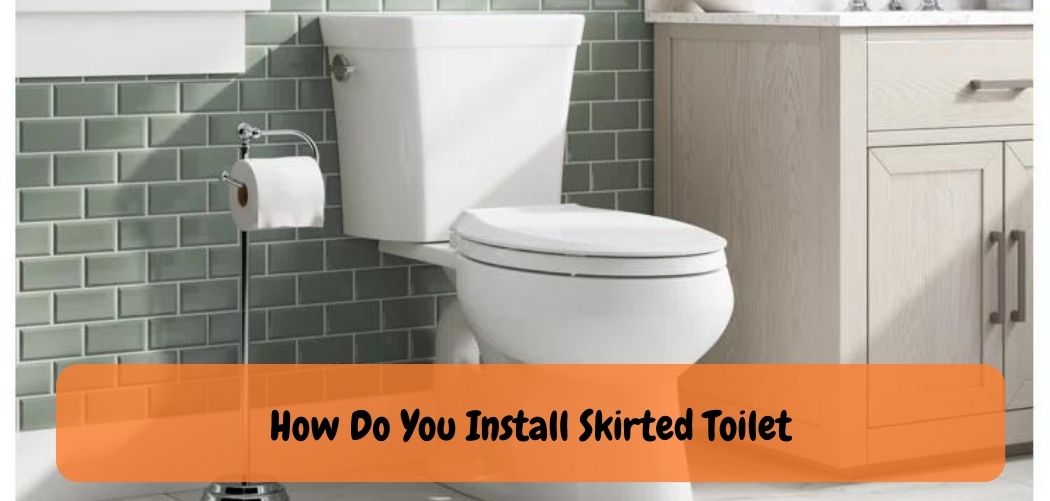
Skirted toilets have become increasingly popular due to their sleek and modern appearance. Unlike traditional toilets, which have exposed trapways, skirted toilets feature a concealed trapway that gives the toilet a seamless, streamlined look.
If you’re considering installing a skirted toilet in your bathroom, you may be wondering how to do so correctly. While installing a skirted toilet is similar to installing a traditional toilet, there are a few key differences to be aware of.
In this article, we will walk you through the steps of how to install a skirted toilet, including preparing the area, assembling the toilet, and securing it in place.
The Install Skirted Toilet?
Installing a skirted toilet is a great way to add a modern and streamlined touch to your bathroom. Skirted toilets have a concealed trapway, which gives them a sleek and seamless appearance.
While installing a skirted toilet may seem like a complex task, it’s actually quite similar to installing a traditional toilet. In this guide, we will walk you through the steps of how to install a skirted toilet.
1. Prepare the Area
Before you begin installing your skirted toilet, ensure that the area is clean and free of any debris or obstructions. Also, make sure that the water supply valve is turned off.
2. Assemble the Toilet
Unbox your toilet and lay out all the pieces. Assemble the toilet according to the manufacturer’s instructions, making sure to follow the steps carefully. Be sure to attach the wax ring to the bottom of the toilet bowl.
3. Position the Toilet
Carefully lift the assembled toilet and position it over the flange on the floor. Make sure that the toilet bowl is centered over the flange and the wax ring.
4. Secure the Toilet
Press down on the toilet bowl to compress the wax ring and create a tight seal. Next, secure the toilet to the floor using the bolts that came with the toilet. Use a level to ensure that the toilet is straight and adjust as needed.
5. Connect the Water Supply
Connect the water supply hose to the bottom of the toilet tank and tighten the nut with a wrench. Turn on the water supply valve and check for any leaks. If there are no leaks, flush the toilet a few times to ensure that it’s functioning correctly.
6. Install the Skirted Pane
l Attach the skirted panel to the sides of the toilet bowl according to the manufacturer’s instructions. Be sure to secure the panel firmly to the toilet to prevent it from coming loose.
Are Skirted Toilets Harder to Install?

Installing a skirted toilet can be more challenging than installing a standard toilet. Skirted toilets are designed to have less visible parts, which means that all of the plumbing components must fit within the confines of the skirt. This requires careful measuring and precision in order to ensure a proper fit.
Additionally, some skirted toilets may require additional installation steps due to their design features such as special mounting brackets or extended water supply lines. Furthermore, since there is less space around the base for access, it can be more difficult for plumbers to make adjustments should an issue arise during installation or if repairs need to be made down the line.
How Do You Install a Skirted Trapway Toilet?
Installing a skirted trapway toilet is not as difficult as you might think. First, you will need to measure the space in your bathroom for the new toilet and make sure it fits before purchasing. Once you have your new skirted trapway toilet, turn off the water supply and disconnect any existing fixtures from the water lines.
After that, remove all components from the old toilet including bolts and mounting hardware. Now place your new skirted trapway toilet’s tank onto its base with care and use plumbers putty around both pieces so they stay secure. You may need an assistant to help hold up the tank while lining it up with bolts on either side of its base plate.
Make sure everything is lined up properly before tightening down any nuts or washers using adjustable wrenches or a drill bit size that is appropriate for this type of job. Next attach a flexible hose between the shutoff valve on one end of your water line and then connect that same hose to your fill valve located at the bottom of your newly installed skirted trapway toilet’s tank by hand-tightening with adjustable wrenches again if needed. Finally, press down tight on top of both seal rings located inside of each connection point ensuring no leaks occur when testing out once complete!
Quick Skirted Toilet Installation: KOHLER ReadyLock
Conclusion
Installing a skirted toilet may seem like a daunting task, but with the right tools and knowledge, it can be a straightforward process. By following the steps outlined in this guide, you can successfully install a skirted toilet in your bathroom and enjoy its modern and streamlined appearance.
Remember to take your time and double-check your work to ensure that the toilet is installed correctly and functions properly.
If you’re unsure or encounter any difficulties during the process, seek the assistance of a professional plumber to ensure a successful installation. With proper installation, your skirted toilet will not only look stylish but also operate efficiently and reliably for years to come.